
Over the weekend, we visited Knott's Berry Farm, one of the first theme parks in the U.S. What I like about Knott's is that the lines are much shorter than those of Disneyland therefore we get to experience more rides within the same amount of time. I also think Knott's has a more interesting variety of rides for young children like our 5-year old, and has more thrill rides (though not as many as Magic Mountain). Although the production value is not as high as that of Disneyland, it is still quite high.
During our visit the heat was intense, reaching 95°F (35°C), just one degree below the all-time record of 96 for that area, and 10 degrees hotter than the average for this time of the year. With the sun blazing overhead, the dynamic range was very wide. I used two different exposure strategies to deal with the dynamic range.
PROTECTING HIGHLIGHTS
When the ambient is very bright, it is very easy to exceed the highlight range of a digital camera and blow the highlights. I used to not care so much about it myself. In the shot below, you can see that the highlights from the sunlight-as-kicker have no detail at all.

However, when I started learning about shooting film, I became more attentive to highlights. With print film (negative film) I have tremendous latitude for exposing highlights, and it's almost impossible to blow highlights. With digital, once a certain threshold of light is reached, the sensor can't record any more details, and all I suddenly get is white (i.e. blown highlights). Blown highlights are therefore one indicator that the image was shot digitally.
(BTW there's nothing wrong per se with looking digital. It's just a personal preference. I grew up during a time when digital video was used mostly for lower-budget movies and shows.)
On this occasion I was using two cameras, the Fuji S5 Pro and the Nikon D90. They have different amounts of shadow range and highlight range therefore I used different exposure strategies. In the shots below, I took some test shots to show the effect of the exposure strategies. For the S5, I took a baseline shot using its 'standard' dynamic range mode, and another shot at the same exposure but this time activating its full 400% dynamic range (you can ignore the absence of a highlight on the neck of the baseline shot -- the sun was going down and a shadow fell on the cheek and neck of the mannequin head). I also took a pair of shots with the Nikon D90: first a baseline shot with a normal exposure, and a second shot that was deliberately underexposed by two stops. BTW these were at ISO 400, the widest dynamic range for the D90.

In postprocessing I adjusted the shots to recover the highlights and in the case of the underexposed D90 shot, to normalize the exposure as well. Here is the result:

With the S5's standard mode, there was almost no highlight recovered. Conversely, with the 400% dynamic range mode, all highlights were fully recovered. There was not a single pixel that was blown.
With the D90's normal exposure, I was able to recover a few of the highlights but you can see large patches that were blown (the temple, cheekbone and the entire side of the neck). However, with the deliberately underexposed shot, most of the highlights could be recovered. There is only a patch of lost highlight near the base of the neck.
Full resolution S5 400% DR with adjustment (click to download)

Full resolution D90 -2EV with adjustment (click to download)

The downside of this deliberate underexposure is the greater amount of noise in the midtone and shadow areas (after all, I needed to increase exposure 2 stops in postprocessing to compensate for the underexposure). For me, I usually prefer having extra noise (and using noise reduction) than losing relevant highlights.
---
Back to Knott's Berry Farm. The sky was cloudless for most of the afternoon, so with the S5, I used manual exposure and set the exposure for the shadow. Here's a sample shot, straight-out-of-the-cam:

Looking only at the LCD screen, the bright patch of pavement might seem worrying (IIRC it was blinking), but I was confident that most, if not all, of the highlights would be recoverable with the S5, so I concerned myself with getting an adequate exposure of shadow areas to minimize noise.
And here's the adjusted shot (not a single pixel was lost).

As for the Nikon D90, I set the exposure to avoid losing highlights as much as possible. First, when judging the exposure I paid attention to the blinkies and histogram, dialing down exposure as needed. Second, I used the 'Extra High' setting of Active D-Lighting, which meant that the camera would underexpose slightly to avoid losing highlight detail. For JPEGs, it would also boost the shadow and midtone areas to compensate for the underexposure. However, I was shooting raw, so the boosting would be done in postprocessing. Here's a sample shot, SOOC:

If I looked only at the LCD screen, it would look very underexposed. However, I knew that for my purposes, this was the 'correct' exposure. Here's how the shot looked after adjustment in post-processing.

Most of the highlights were preserved. There is only a small patch lost, near my wife's elbow.
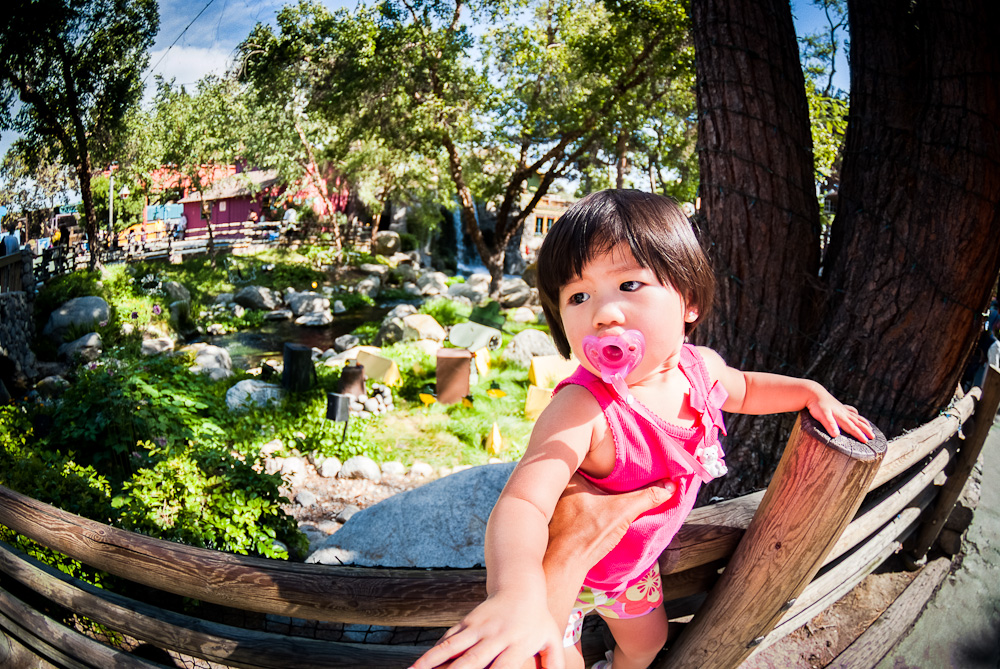
Here are a few more shots from our visit. I used two lenses, the Tokina 10-17 fisheye (paired with the S5) and the Nikkor 28-105 3.5-4.5 AF-D (with the D90).

 |
| For when my kids are a little older |
 |
| Knott's has a Peanuts-themed area for younger children, Camp Snoopy |
 |
| A junior version of the elevator drop |


We didn't spend as much time as we wanted because of the scorching heat, but we still had fun.
Many thanks for the articles for the S5 Pro. As someone who fairly recently has gotten into photography, it is very nice to get some insights into various gear and well-made comparisons like this help, especially since the S5 is a bit elusive as far as sample RAW files and such. Thanks again!
ReplyDeleteHi and thanks for the feedback. The S5 remains one of my favorite cameras despite its idiosyncrasies. One of these days I will do an S5 resource page just like what we have for the D600, which will pull all the S5-related articles into one page, organized by topic.
DeleteBest regards,
Mic
Hi Mike,
ReplyDeleteThanks for the Fuji S5 write up. I did not find a link to the Fuji S5 articles in your index of articles page (or did I miss it?). Anyway I bought an S5 last month based on reviews like yours.
Thanks
RK
Hi RK. Sorry for the delayed reply. The S5 resource page is one of those things on my to-do list. Been too busy doing tests recently... I'll work on it when I get the chance.
DeleteBest regards,
Mic